My cheat on Cisco's YANG Suite
1 YANG Suite
YANG Suite is the replacement to YANG Explorer. It is an HTML5 based tooling
that works with YANG based APIs, such as Cisco IOS/XE, XR, and NXOS.
It allows for interacting with API and supports downloading YANG files directly from network devices.
This device lifecycle is supported with the tool specifically for Model-driven Programmability and Model-driven Telemetry.
1.1 Links
1.2 Documentation
2 Running YANG Suite
- activate python venv for YANG Suite (needs
python 3.6, 3.7 or 3.8) - start the server with
start_yangsuite serverNote: I did NOT run this. You will see the following as it downloads a docker image and starts it upgit clone https://github.com/CiscoDevNet/yangsuite cd yangsuite/docker/ docker-compose up
- leave the server running (end with C-c)
- browse to
127.0.0.1- You have to accept the certificate as it is self-signed. So expand the advnaced tab, and view the certificate and always accept
3 What I actually did:
I followed the instructions in https://pypi.org/project/yangsuite/ and in https://github.com/CiscoDevNet/yangsuite and in learning-lab intro-yangsuite
- activate python venv-yang for YANG Suite (needs
python 3.6, 3.7 or 3.8) - clone the YANG Suite with
git clone https://github.com/CiscoDevNet/yangsuiteWhich created some subdirectories beneath venv-yang. - generated ceritificates by running
venv-yang/yangsuite/docker/gen_test_certs.shThis wrote new private key to'nginx/nginx-self-signed.key' - start your docker.app
- Only then did I
cd yangsuite/dockerand rundocker-compose upThis left my terminal open as a console. To quit, hit C-c on this console.
(I never did run the start_yangsuite server command as it appears I did these
steps manually.)
- leave the server running (end with C-c)
- browse to
127.0.0.1(using Safari. Chrome won't allow a self-signed cert.)- You have to accept the certificate as it is self-signed. So expand the advnaced tab, and view the certificate and always accept
Only after I had docker up and running did I read this warning: From https://developer.cisco.com/docs/yangsuite/
WARNINGS:
- Change admin username/password default in docker-compose.yml file first!
So, I edited the yangsuite/docker/docker-compose.yml file and:
4 YANG Suite GUI login and usage tips:
Login on 127.0.0.1 as admin:rollingkart2021 Login on 127.0.0.1 as admin:rollingkart2021
Then use the GUI to change the password for admin. I did and then saved it to my keychain, under yangsuite.
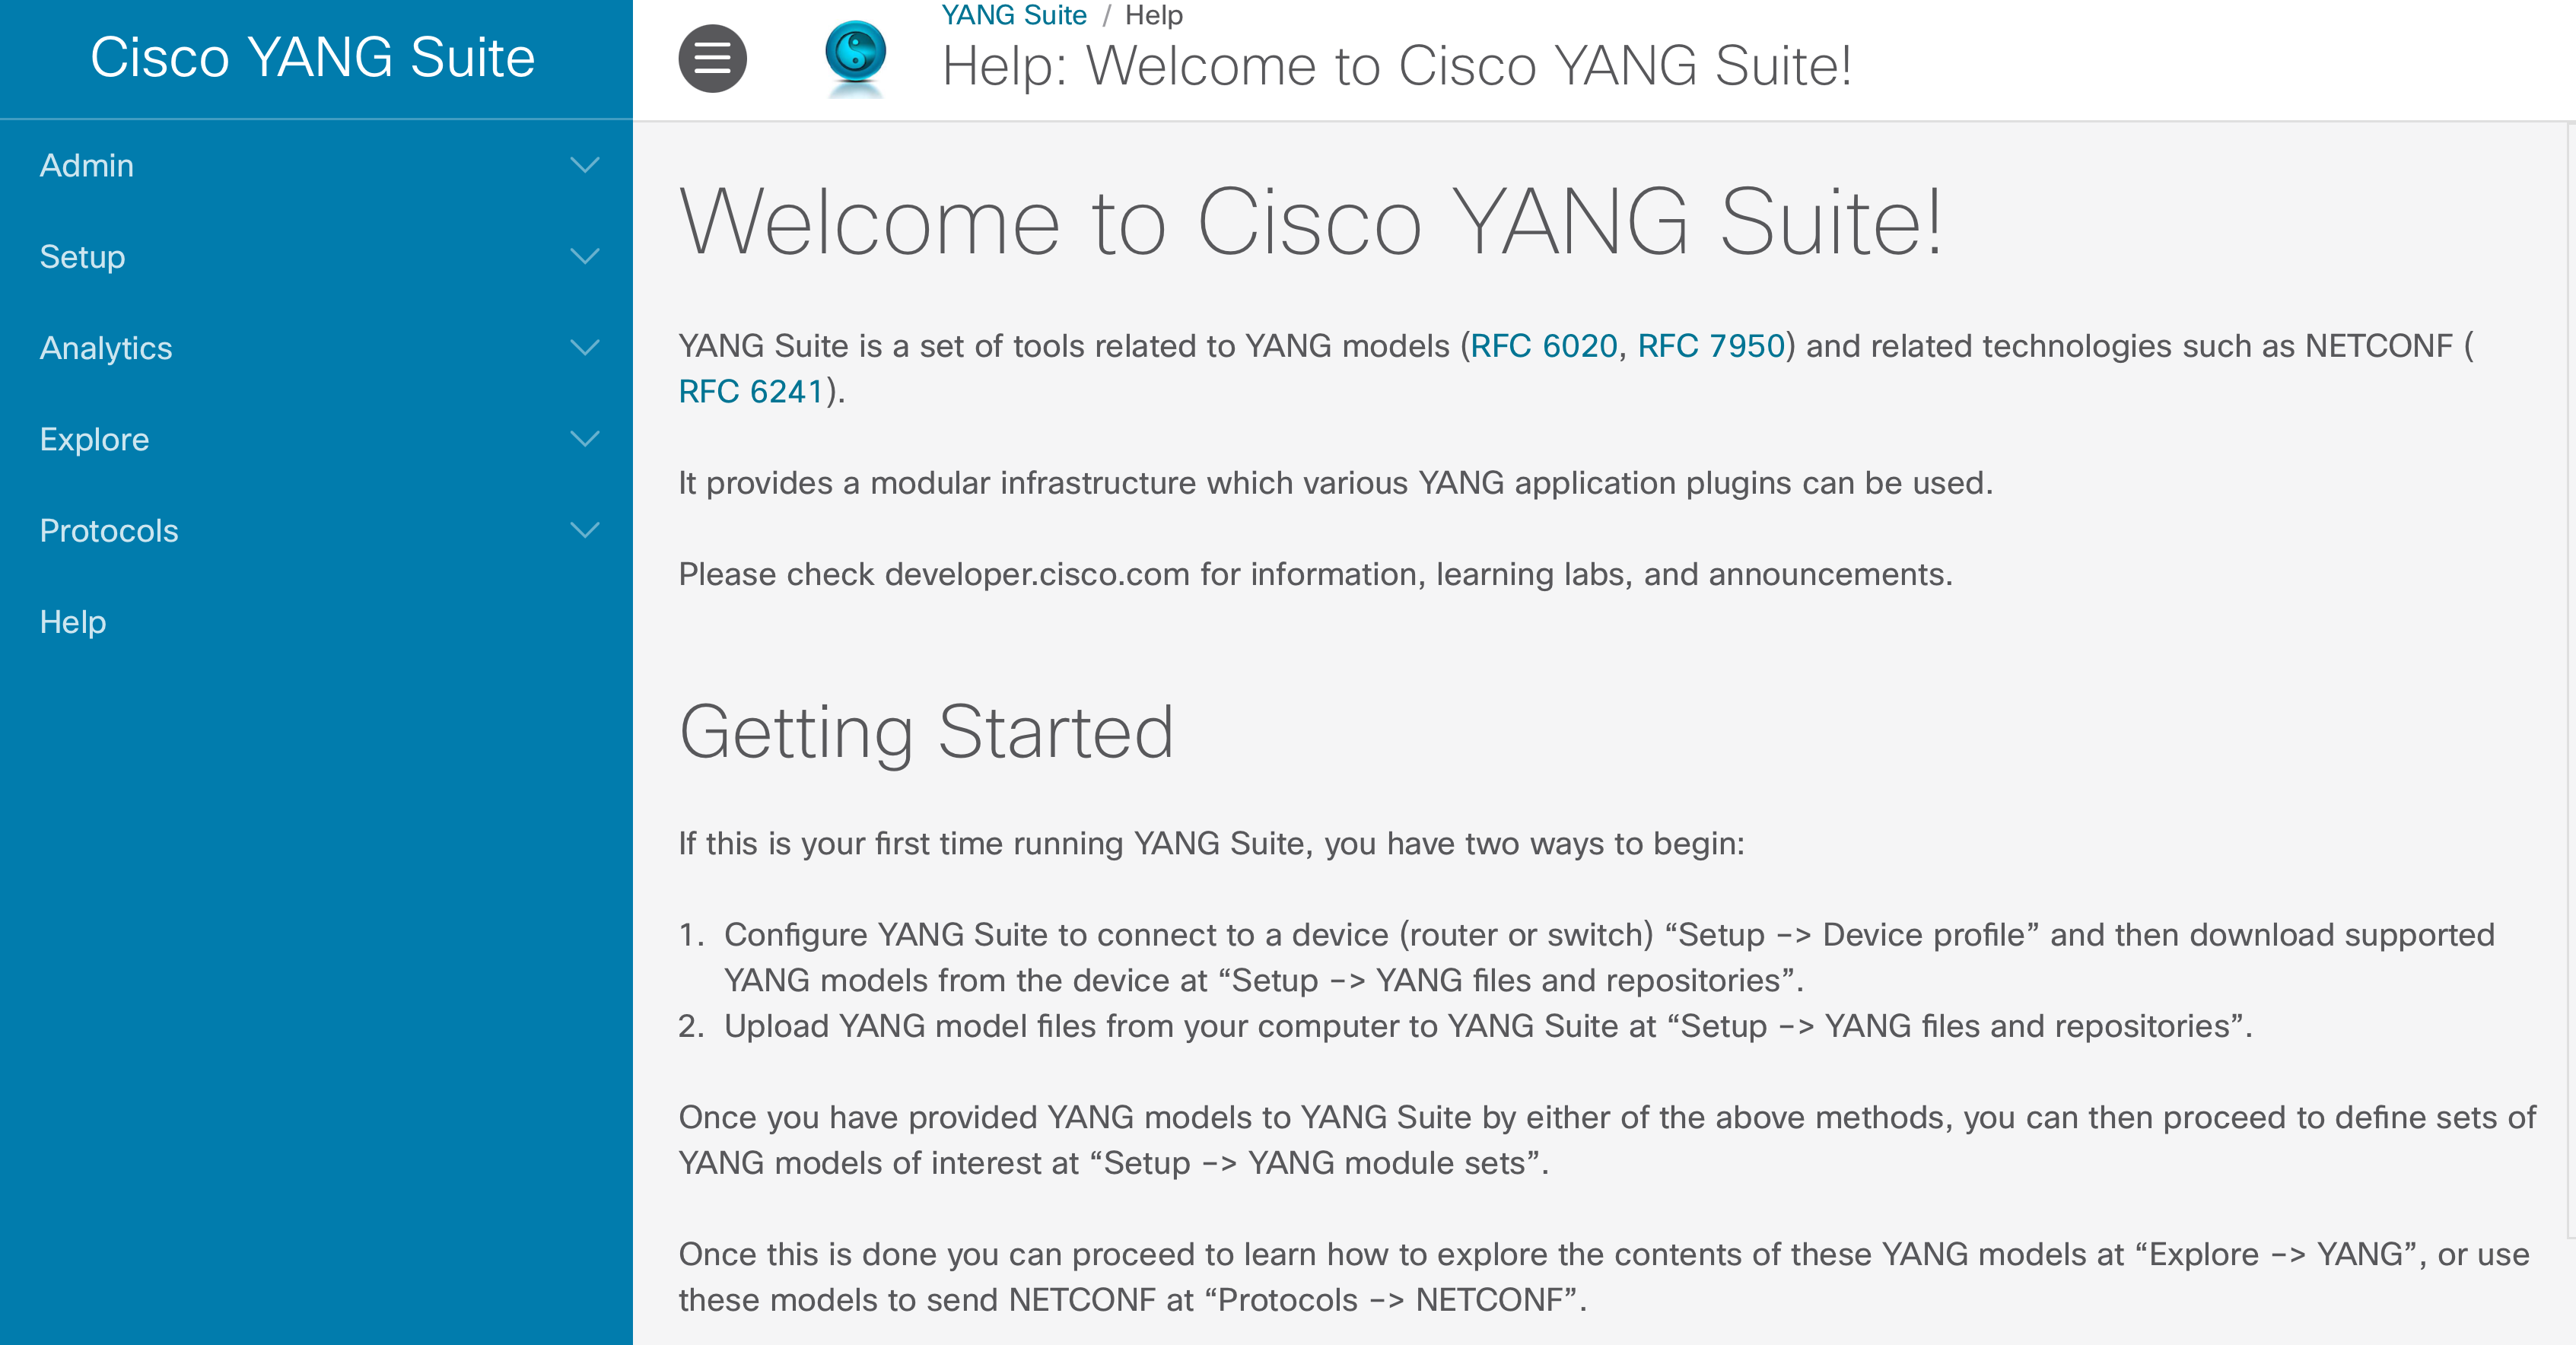
My homepage in yangsuite looks like:
4.1 Cisco Sandbox Credentials
As per the instructions in learning labs, step 2 I am to record the credentials which as of are:
- CSR1000V Host: ios-xe-mgmt.cisco.com
- SSH Port: 8181
- NETCONF Port: 10000
- RESTCONF Ports: 9443 (HTTPS)
- Username: developer
- Password: C1sco12345
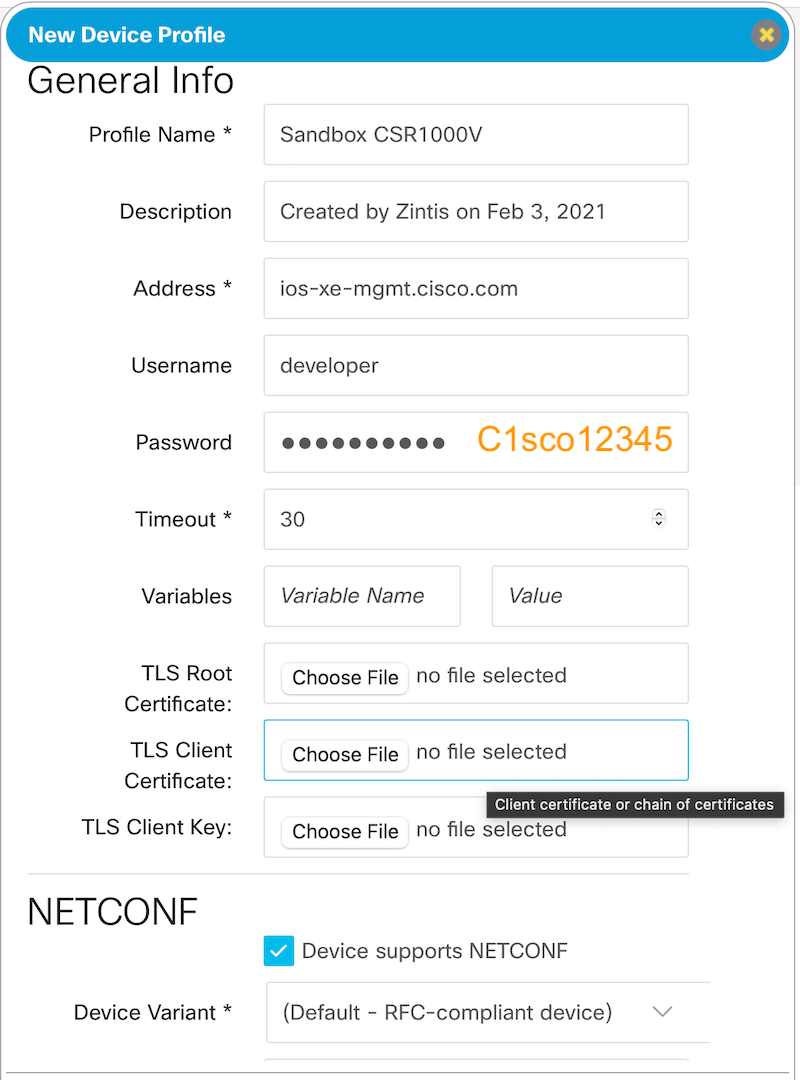
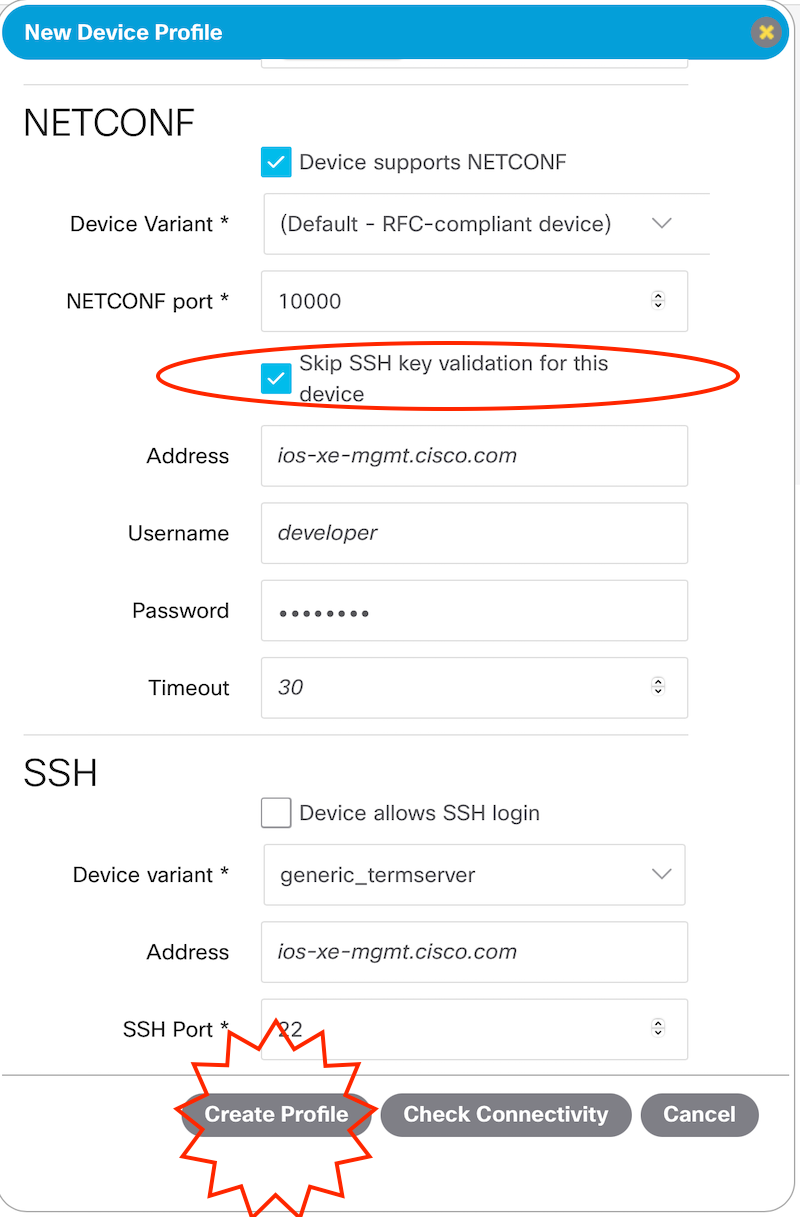
4.2 Add credentials to "Devcie Profiles"
I followed the steps in the learning lab, and created a device profile:
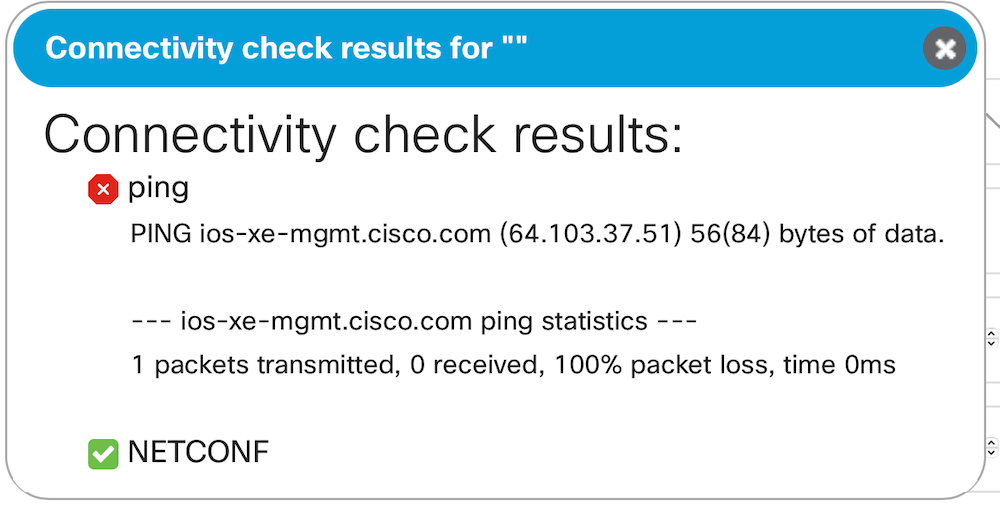
Followed by a clicking "Check Connectivity" It is expected that ping would fail, but NETCONF should have succeeded if everything was done properly.